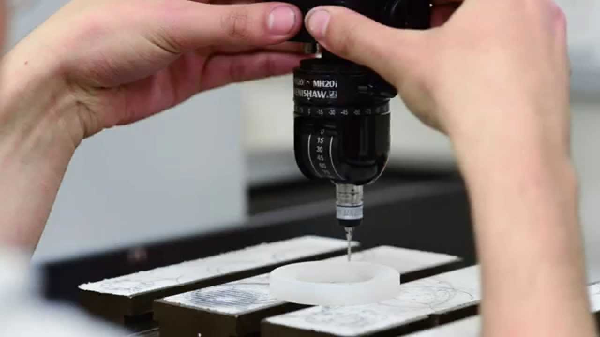
There are several different types of coordinate measuring machines that will be better for your shop depending on your layout, available space, and the size and nature of the work pieces you need to inspect. Bridge types have a high accuracy and medium flexibility and work well for medium-sized work pieces; horizontal arms have the lowest accuracy but are the most flexible and particularly good at measuring very large components, particularly in automotive; the gantry type combines high accuracy with a large reach, although they take up a considerably large footprint. If you plan to remove work pieces from the floor and inspect them in a temperature-controlled lab, go with stationary equipment; however, one of the more important recent developments in inspection technology has been the invention of the shop floor coordinate measuring machine, which can withstand the temperature fluctuation and air contamination of the floor.
In addition to traditional coordinate measuring machines, which have certain limitations, you will also find that metrology dealers like Canadian Measurement Metrology (CMM) sell and service advanced measuring instruments like vision systems, lasers scanners, and portable arms, all of which are designed to make inspections easy for a variety of parts. Vision systems use cameras to snap pictures of the part to be measured and make measurements based on the image; this allows you to get dimensions from pieces that have malleable parts and therefore cannot be contacted, or materials that could be damaged by the ruby spheres used in most probes. Laser scanners are particularly useful for reverse engineering and can gather large quantities of data points very rapidly; like vision systems, they are used in conjunction with portable arms or stationary coordinate measuring machines.
Different brands and models are sought after by shops because they offer different features or compatibility; for example, Mitutoyo CMM machine equipment is a popular used option, especially when it comes to their BHN and Bright series. These models, built from the ’90s to the 2000s, are considered by many to be mechanically superior to newer machines and are built to last. It’s recommended that you update their software, as Mitutoyo’s earlier software (Geomeasure or Geopak) are now considered obsolete, and you would be better off upgrading to PC-DMIS CAD. You can find these machines at a budget-conscious price from dealers like CMM who specialize in inspecting, retrofitting, and reselling used instruments.
Always take time to research your options when it comes to metrology and expanding your QA department; ask for quotes, find videos of used instruments in action, and learn where and how you can find training for your operators. If you need a metrology solution in the meantime, you may also want to consider outsourcing your more advanced inspection needs to a metrology house with state of the art equipment. If you’re missing manpower while your operators undergo training or because of an emergency, many independent dealers can also send metrologists to your shop to conduct inspections with portable arms or to help program parts inspection routines online or offline. Work with a metrology dealer who won’t just sell you an instrument, but will start to build a relationship once it’s been delivered.

